This project was easier then fist thought. We all quite enjoyed it. Our favourite and messiest stage was the building of the mudbricks. Wet met 4 times during the last 5 months to complete this task.
On our 1st day we met we started work on the wooden moulds. This took longer than we first thought. He had made 2 moulds each holding 12 mudbricks. The moulds were the in simular size of normal masonry bricks. (230x110x 80)
Our 2nd that we met we made the mudbricks. For this stage we needed:
• Sand
• Soil
• Clay Soil
• Grass Clippings
• Water
We mixed all these together in a large pot, and added water or more soil to get the right consistency. The mixture was cold and sticky. We then scooped an amount of this mixture and placed it into the mud brick moulds, levelling it off at the top with a wet piece of wood.
We waited for around 45 to 1hr for it to set a bit, before we removed the wooden mould and refilled it will more mudbrick mixture. Having 2 moulds were great, as one was setting we were making and filling the other mudbrick mould.
We had made around 6 batches of the mixture that day, which was enough and had in total 84 mudbricks.
On the 3rd day, we constructed the timber frame and mudbrick wall. The frame was quite easy to create; we added some noggings and studs and sill trimmer for the window, just like a regular timber frame. This took a very short time to complete. Our next job was to build up the mudbrick wall. We started with the first layer of bricks, of which we then filled the cavities and top with a layer of the same mixture that we used to make the mudbricks , that we made earlier on that day. This was our mortar. Quite quickly the mudbrick wall went up. We also added steel fixings from the timber frame into the wet mortar mixture so that the wall would not fall forward. We added a steel flashing off cut as our sill which worked very well and fitted nicely, and a 10mm thick piece of timber across the top of the window as our lintel. Once we had completed the building all we needed to do was to wait till it dried. To keep it dry from the rain we covered it with plastic all around and tied it down.
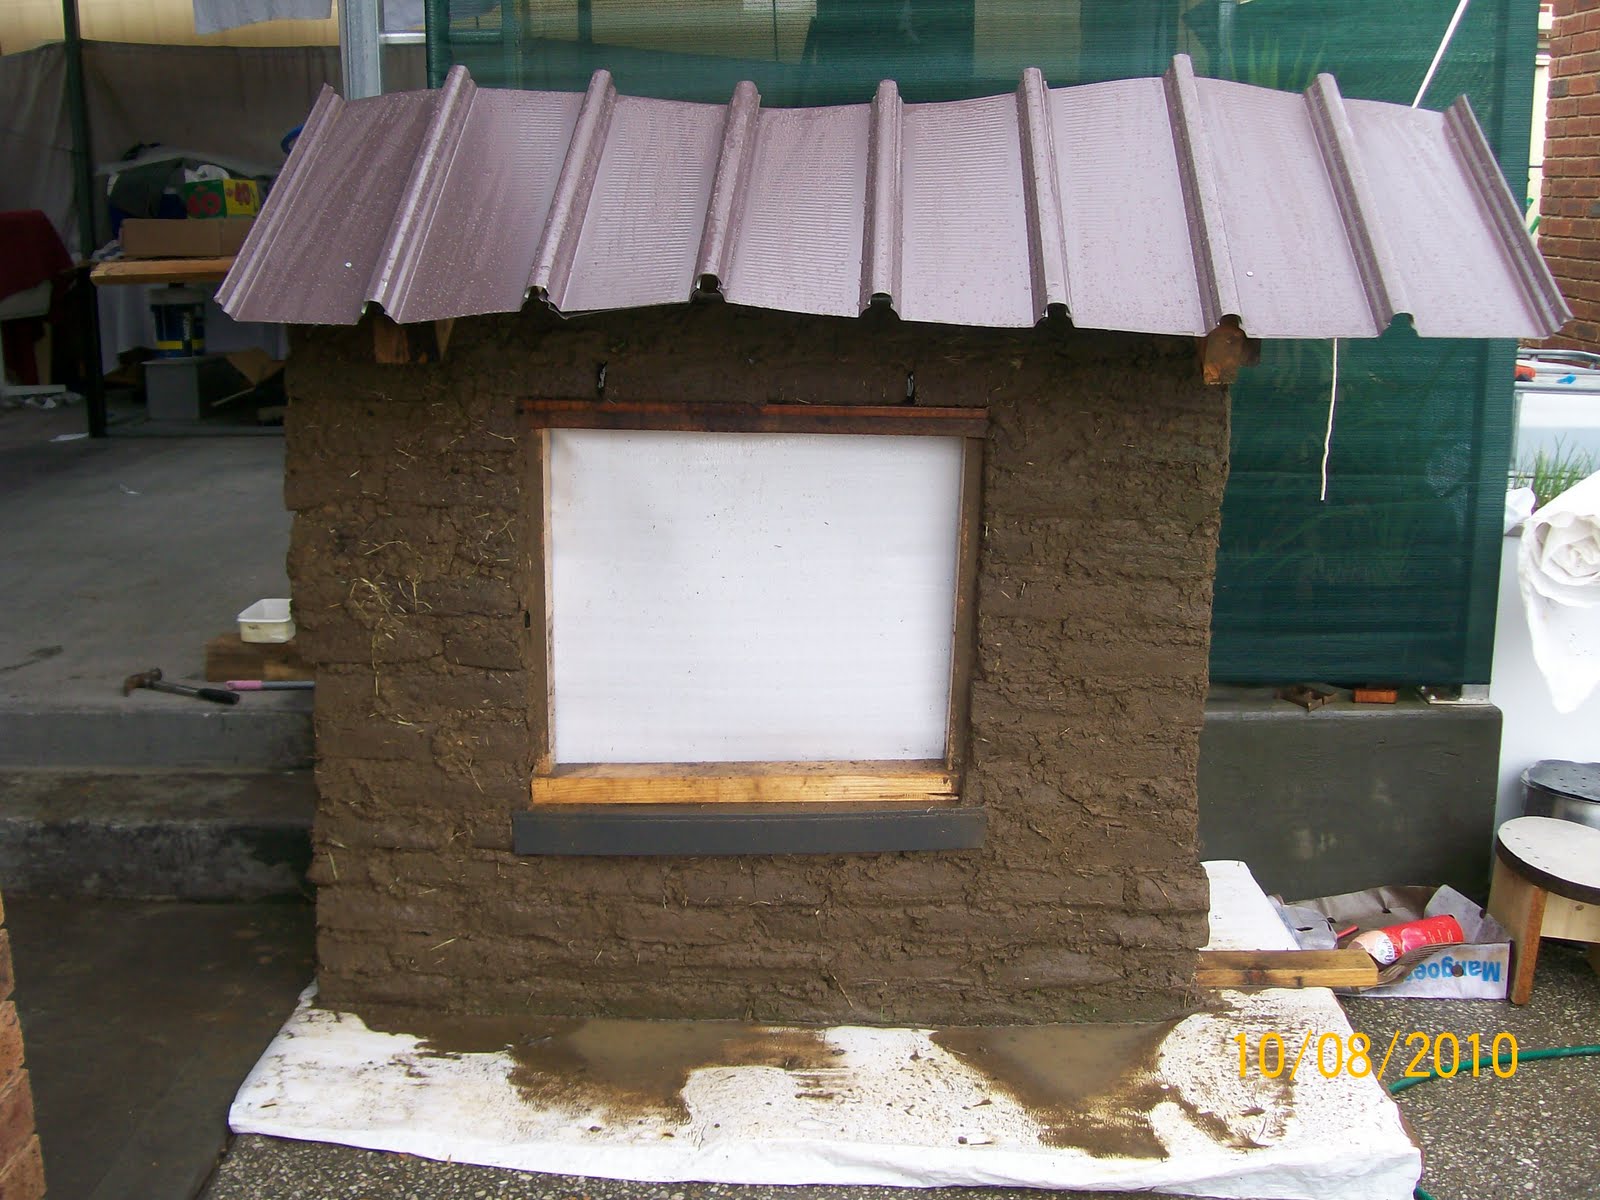
On the 4th day , we took off the plastic to find that the mudbrick wall dry and that the mortar had set. It was in excellent condition considering all the rain we had is the time we constructed the wall. We started with the building of the 2 timber rafters, which was a very simple task that only took us 10 minutes. We used 90X45mm pine We fixed these rafters to the timber frame with a steel angel bracket. We created an eave of 400mm. On top of these rafters we used 2 small lengths of timber as roof battens, to support the roof sheeting. We used 3 clip lock roof sheets to cover the wall.
Our next and final task was to do the water test on the mud brick wall we had constructed. Using a hose for 3 minutes we sprayed the roof and the wall with water.
The result was very pleasing. The wall had remained intact. Only a very small amount of dirt had washed off the face off the wall. The water had stayed off the wall when we sprayed the roof, and Mus bricks were still hard when we sprayed directly onto them. (Which was very surprising). I thought that once we applied the water onto the mudbricks that the mudbricks would have begun to disintegrate and we would be left with a large pile of mud at the base. This was not the case.
The task went exceptionally well, and I am very happy with the result.
Michael Angelini

.jpg)